

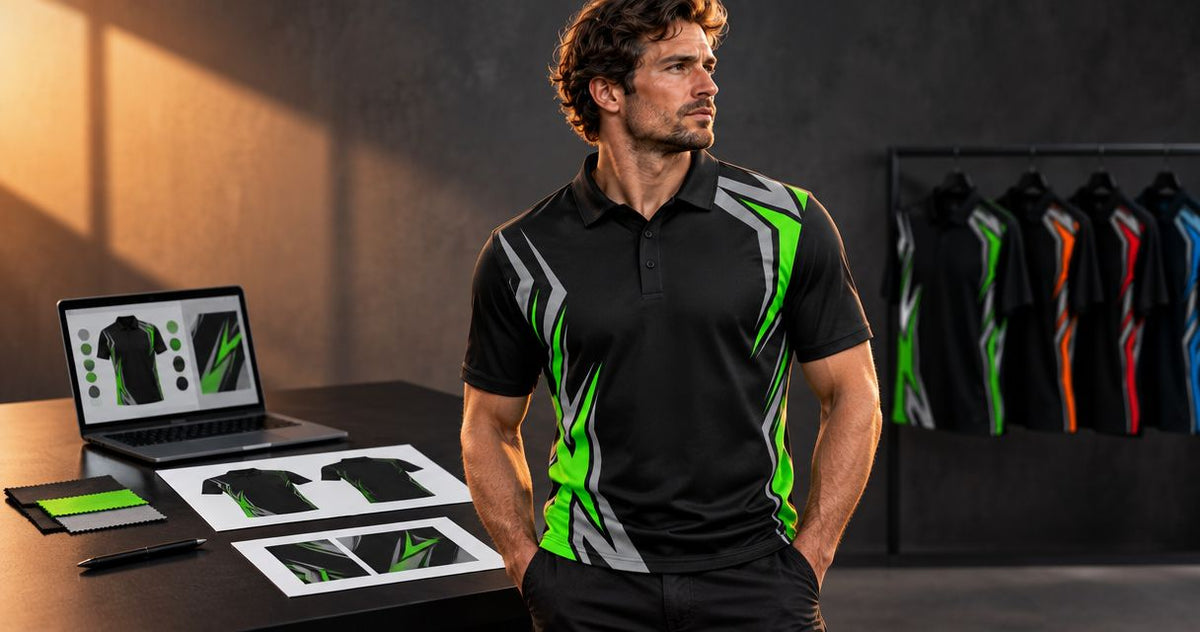
For sublimated polo shirts, choose sponsor logo positions by priority: reserve a clear chest position for the club or business identity, give the principal sponsor a prominent uninterrupted panel, and place supporting sponsors on the sleeves or back. This 2026 guide explains how to balance those positions, check the artwork across sizes and approve a layout without confusing a design proof with a finished-garment sample.
- Sublimated polo shirts need a clear logo hierarchy before you choose chest, sleeve or back positions.
- Keep sponsor artwork clear of button openings, seams and busy background graphics.
- Ask for front, back and sleeve views before approving team uniforms.
- Workwear Martaustralia supplies custom sublimated apparel for Australian businesses, trade teams and sporting clubs.
Where should sponsor logos go on sublimated polo shirts?
Choose the position around the sponsor's agreed priority, not around whichever space remains empty. Start with your club or business identity, then allocate the principal sponsor, then fit supporting sponsors into a consistent layout.
Use this comparison as a design starting point, not a fixed placement specification. Your garment pattern, artwork and sponsorship agreement determine the final dimensions.
| Position | Best for | Main advantage | Main trade-off |
|---|---|---|---|
| Left chest | Club crest or business identity | Keeps the wearer's organisation easy to identify | Limited room for detailed artwork |
| Right chest | A supporting sponsor | Separates sponsor branding from the club crest | Competes with the opposite chest if both marks dominate |
| Front body | Principal sponsor | Provides an uninterrupted area below the button opening | Large artwork can dominate the whole shirt |
| Sleeve | Supporting sponsors | Gives secondary partners a distinct position | Curved fabric and seams constrain the layout |
| Upper back | Principal or prominent supporting sponsor | Separates sponsor artwork from front branding | Not visible in front-facing photographs |
| Lower back | A grouped supporting-sponsor panel | Keeps several marks together | Can be covered when the polo is tucked in |
You can discuss a custom layout with Workwear Martaustralia. Supply the sponsor list and placement obligations with your enquiry rather than sending logos without instructions.
Why this matters
A polo has to identify your team and acknowledge sponsors without making either task difficult. Filling every panel with equally prominent logos removes that distinction.
For a 2026 sponsorship agreement, record what each sponsor receives before artwork starts. A promise of a sleeve position is different from a promise of a prominent front position; the proof should show the position actually agreed.
Workwear Martaustralia suits Australian businesses and sporting clubs ordering custom sublimated apparel. The relevant service is custom apparel; placement still needs an approved brief rather than an assumption that every logo fits every panel.
Chest positions: keep your identity clear
Best for: club crests, business identities and compact sponsor marks. Keep the organisation's identity in a recognisable place and avoid giving the opposite chest logo so much visual weight that it overwhelms the crest.
Describe left and right from the wearer's perspective. A designer viewing the front of a shirt sees those positions reversed, so write “wearer's left chest” in the brief rather than relying on an unlabelled screenshot.
Check the button opening, often called the placket. A wide sponsor mark should not accidentally run into that opening or sit so close to it that the layout looks cramped.
The chest works well for compact artwork, but it is not a solution for every logo. If a sponsor's mark contains a long tagline or fine lettering, ask whether an approved simplified version is available instead of shrinking everything to fit.
Front body: give the principal sponsor a clear panel
Best for: the principal sponsor when the agreement prioritises front visibility. Place the mark within a deliberate area below the button opening and assess it against the whole shirt, not just an enlarged artwork window.
A large sponsor logo gives that partner prominence, but it also changes the balance of the uniform. Ask whether the club colours and identity still read clearly when the sponsor mark is present.
Keep background graphics quiet behind important lettering. If the shirt uses stripes, gradients or patterns, compare the logo against the actual colours underneath it rather than against a separate white page.
Do not assume that a full-front position means artwork can cross every construction detail. Ask the supplier to confirm placement against the actual garment template, especially near panel joins and side seams.
Sleeve positions: use a consistent supporting-sponsor layout
Best for: supporting sponsors with compact, legible marks. Sleeve positions separate secondary branding from the main front design, but the available area follows a curved garment panel rather than a flat poster.
Specify the wearer's left or right sleeve and show the intended orientation. A logo that looks level on a flat artwork page still needs checking against the sleeve pattern and how the polo will be worn.
Use a consistent rule when several sponsors share sleeve space. For example, agree whether marks should have equal visual prominence or follow sponsorship tiers; equal width alone does not make differently shaped logos look equally prominent.
The limitation is detail. A sleeve is a poor place to force a long business name, tagline and contact information into a compact mark when an approved simpler version exists.
Back positions: check what covers the artwork
Best for: prominent sponsor recognition from behind or a grouped supporting-sponsor panel. Decide whether the back must also carry a team name, role or player identification before allocating sponsor space.
An upper-back mark separates branding from the front chest layout. Its limitation is practical: it will not appear in a photograph taken only from the front, and an outer layer can cover it.
A lower-back panel provides a place to group supporting sponsors, but check whether wearers will tuck the polo into trousers or shorts. Do not promise an exposed lower-back logo when the intended way of wearing the shirt covers it.
For your 2026 team order, review the polo alongside any jackets, bibs or other layers actually used. The shirt artwork alone cannot show which sponsor positions remain visible beneath those items.
Why sponsor logo placement varies
There is no universal chest width or sleeve size that suits every sublimated polo. Set the dimensions on the supplier's garment template after resolving these factors:
- Sponsor priority: Follow the agreed placement and prominence before balancing the remaining marks.
- Logo shape: A wide wordmark and a tall badge need different proportions, even when they represent equivalent sponsors.
- Garment construction: Button openings, seams, collars and panel joins define where uninterrupted artwork can sit.
- Size range: Check whether the same artwork dimensions suit the smallest and largest garments being ordered.
- Background design: Review contrast against the actual shirt graphics, including any pattern behind the lettering.
- Wearing conditions: Consider tucked hems, outer layers and the views that matter for your team's use.
Do not choose a dimension simply because another club used it. Their artwork, garment pattern and sponsor commitments are not your specification.
How do you prepare a sponsor placement brief?
Give the designer a brief that makes decisions explicit. A folder of logo files identifies the sponsors, but it does not explain their order, permitted colours or promised positions.
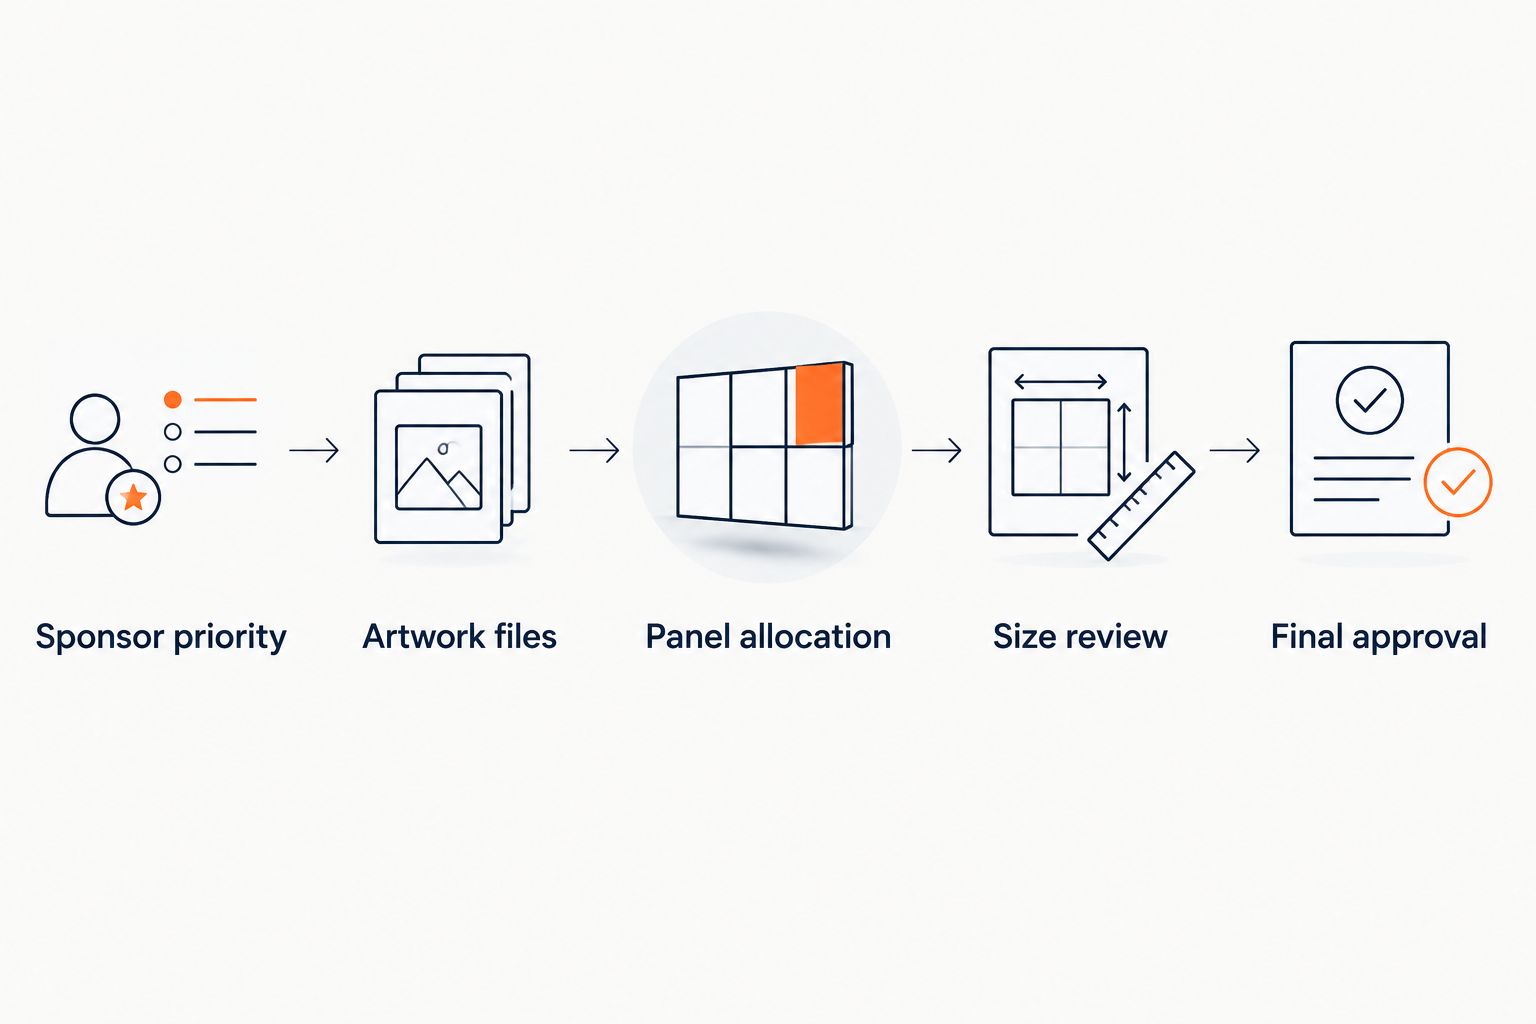
Use this sequence for your 2026 artwork brief:
- Sponsor priority: List the club or business identity, principal sponsor and supporting sponsors in the agreed order.
- Artwork files: Supply the approved logo versions and identify any sponsor brand guidelines.
- Panel allocation: Assign each mark to a named position using the wearer's left and right.
- Size review: Request confirmation of how the layout applies across the ordered garment sizes.
- Final approval: Name the person authorised to approve the complete design for production.
Keep one current brief rather than sending separate changes through different committee members. If a sponsor changes its logo, replace the old file and identify the revision before another proof is prepared.
For artwork, send vector files where available: these describe shapes rather than a fixed grid of pixels. A screenshot is not equivalent to the original artwork, and changing its file extension does not restore missing detail.
What should you check on the digital proof?
Request 3 views: front, back and sleeves. A front-only image cannot confirm a back sponsor position or show whether the sleeve artwork has been assigned correctly.
Read the proof as an approval document, not just a presentation image. Check each sponsor's spelling, logo version, colour treatment, position and relationship to the surrounding design.
Use this checklist before authorising production:
- Confirm the wearer's left and right are labelled consistently.
- Match every sponsor against the approved sponsor list.
- Check that no tagline has disappeared during resizing.
- Review artwork near the placket, seams, collar and hem.
- Ask how logo dimensions apply across the ordered sizes.
- Confirm which file is the final approved version.
A digital proof helps you approve the layout; it is not a physical sample or a guarantee that every screen displays colour identically. Ask how colour references and any critical sponsor colours will be handled before signing off.
How do you handle sponsor approval without conflicting instructions?
Keep 2 approval checks separate: each sponsor checks its own branding, and your nominated organiser approves the complete shirt. This is a suggested workflow, not a requirement to give every sponsor control over the whole design.
Ask sponsors to confirm their logo version, permitted colours and agreed position. Ask the organiser to resolve the overall hierarchy, garment quantities and consistency across the order.
Then retain 1 final artwork version with the approval date. If a sponsor requests a change afterwards, obtain a revised proof and confirm the revised version rather than relying on an informal message about what should change.
This approach also gives your club a clear record for repeat orders. Keep the artwork approval with the relevant sponsor agreement instead of trying to reconstruct placement decisions from old photographs.
How should you request an itemised uniform quote?
Ask Workwear Martaustralia for an itemised quote for sublimated polo shirts and a free digital design proof before production. For decorated orders from 5 garments, confirm that your chosen garment and decoration method meet the order requirements.
Separate the garment cost, decoration, artwork or setup work, and delivery in the quote. Ask which items are included together and have GST treatment stated explicitly; a decoration-only amount is not the price of a supplied polo.
Your enquiry should include quantities by size, the sponsor files, the placement brief and the date the uniforms are needed. Ask for production and delivery estimates tied to artwork approval and dispatch rather than treating the requested event date as a confirmed arrival date.
Sublimation and embroidery are different decoration methods, so do not apply an embroidery setup charge to a sublimated order without confirmation. Likewise, Australian decoration does not establish that the underlying garment was manufactured in Australia.
Can the same sponsor layout work on hi-vis polos?
A teamwear layout is not evidence that a decorated hi-vis garment meets workplace requirements. Check the exact garment's manufacturer specifications and your site's rules before assigning logo space.
Do not place a sponsor mark across reflective tape or treat a bright shirt colour as proof of suitability. Have the proposed decoration reviewed for the particular garment and intended work use.
For mixed club and work orders, keep the briefs separate where requirements differ. A shared sponsor does not mean a shared artwork layout is appropriate for every garment.
FAQ
Where should the main sponsor go on sublimated polo shirts?
Put the main sponsor in the prominent position agreed in the sponsorship brief, such as an uninterrupted front-body or upper-back panel. Check the garment template and keep the artwork clear of construction details.
Should the club crest go on the left or right chest?
Use the chest position agreed for your club identity and describe it from the wearer's perspective. Keep that position consistent across the order and check it on the labelled proof.
Can several sponsors go on the same sleeve?
Several sponsor marks need a layout review before you commit them to the same sleeve. Ask the supplier to check legibility, spacing and the garment pattern rather than assuming the artwork will fit.
Do sponsor logos need to be the same size?
Sponsor logos do not need identical dimensions unless your agreement requires them. Set prominence by sponsorship priority and assess how different logo shapes look together.
What logo files should I send for a sublimated polo order?
Send the approved original artwork, preferably vector files where available, together with sponsor brand guidelines. Ask the supplier to assess any raster image before approving its use.
Does a free digital proof show the finished fabric colour?
A free digital proof shows the proposed design, not a physical fabric sample. Confirm the supplier's colour-reference process if matching a sponsor colour is critical.
How much does a sponsor-logo polo order cost?
Request an itemised quote based on the garment, quantity, artwork and delivery requirements. Have GST treatment and any setup work stated explicitly so you can distinguish decoration costs from the complete order.
One last thing
Check the shirt with the sponsor's longest approved name, not just its neatest symbol. A layout that only works after removing required wording is not ready for approval.
Before placing your 2026 order, ask the organiser and sponsors to review the same final proof. Keep that approved file with the size list so the design decision and the paid order refer to the same uniform.

